So you've heard about Zwift — maybe a cycling friend won't stop talking about it, or you've seen the footage of riders racing through some impossibly pretty virtual world and thought, "actually, that looks like fun." Either way, you're in the right place. Getting started on Zwift is genuinely straightforward, but there are a few things you need to sort out before your first pedal stroke. This guide walks you through all of it.
What Is Zwift, Exactly?
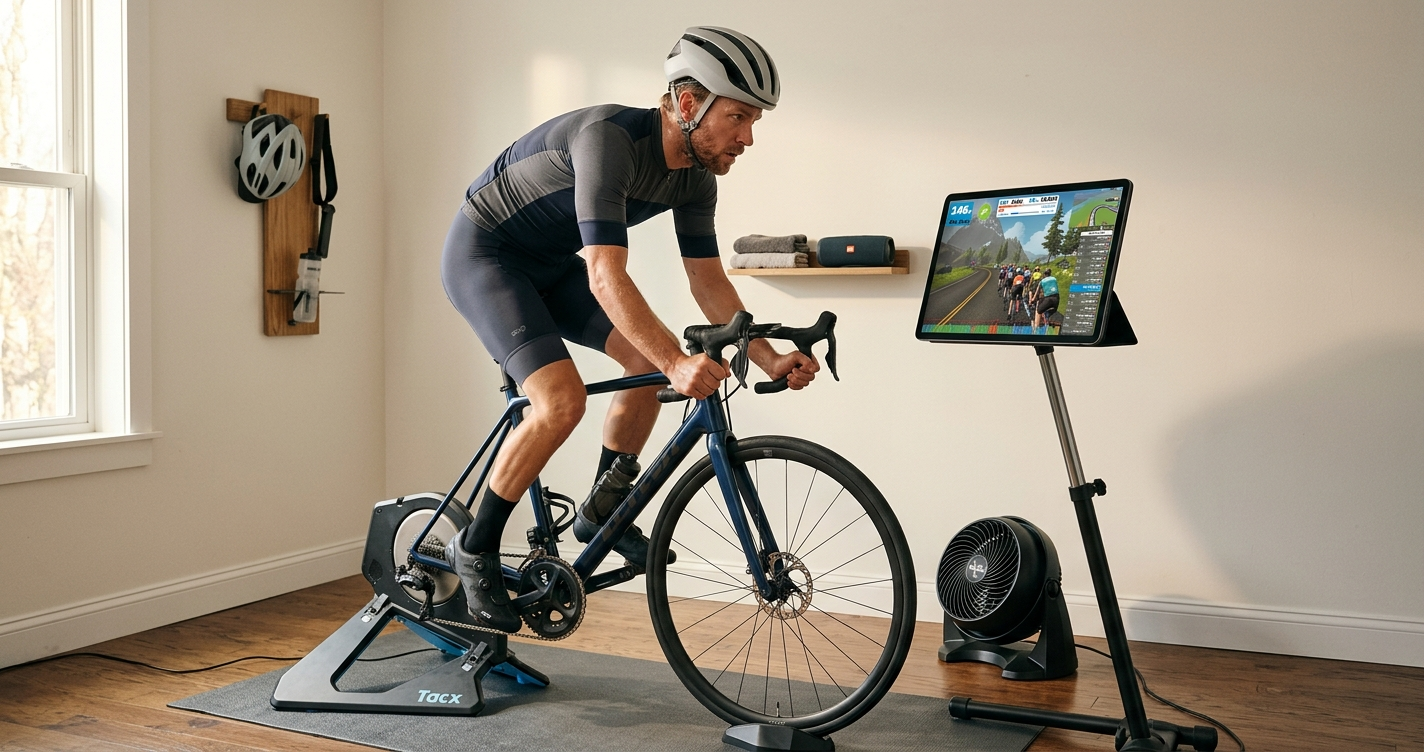
Zwift is an indoor cycling platform that turns riding your bike on a trainer into a proper game. Instead of staring at the wall, you're riding through virtual worlds — Watopia, London, New York, Makuri Islands — alongside thousands of other real people who are all riding at the same time from their own homes. You can join group rides, race, follow structured workouts, or just noodle around exploring the routes. Your real-world effort translates directly into speed and movement in the game: push harder, go faster. Simple as that.
It's available on PC, Mac, iPad, iPhone, Apple TV, and Android. A monthly subscription costs around £12–15 (prices vary by region), and there's a free trial to get you started.
What Equipment Do You Need?
Let's keep this simple. You need three things to get going on Zwift.
1. A Bike
Any bike with a standard rear axle will work — road bike, mountain bike, hybrid, it doesn't matter. If your bike fits on a trainer, you're good. Most people use whatever road or commuter bike they already own. You don't need to buy anything special here.
2. A Smart Trainer
This is the big one. A smart trainer is a device that holds the rear of your bike and does two crucial things: it measures your power output (in watts) and it automatically adjusts the resistance based on what's happening in the virtual world. When the road goes uphill on screen, the trainer gets harder. When you descend, it eases off. This is what makes Zwift feel real rather than just like cycling on the spot.
There are dozens of options at different price points. Wahoo, Tacx (now part of Garmin), and Elite are the most popular brands. Entry-level smart trainers start at around £300–400; the premium direct-drive models (where you remove your rear wheel entirely and attach the bike directly) are £700–1,000+. For most beginners, a mid-range wheel-on trainer is more than enough to start.
3. A Device to Run Zwift On
Zwift runs on almost anything: Windows PC, Mac, iPhone, iPad, Android phone or tablet, Apple TV 4K. The cheapest route for most people is an iPad or Apple TV — both run Zwift well and Apple TV in particular is popular because you can run it directly into your TV with no fuss.
If you go the PC or Mac route, make sure your machine meets the minimum specs (Zwift's website has a full list). Zwift isn't hugely demanding, but a very old or underpowered machine will give you a choppy experience.
Getting Set Up
Once your trainer and device are sorted, getting Zwift running is quick. Download the Zwift app from wherever your device gets its apps (App Store, Google Play, or zwift.com for PC/Mac), create an account, and enter your details — weight, height, and cycling experience level. Zwift uses your weight to calculate how fast you move through the virtual world, so be honest: there's no benefit to lying, and you'll just end up placed in groups that don't suit you.
Before your first ride, pair your trainer in the Zwift device pairing screen. Open the app, click through to pairing, and your trainer should appear. Select it as your power source and controllable trainer. If you have a heart rate monitor, pair that too — it's optional, but useful.
Then pick a world, choose a free ride (or a structured workout if you prefer), and start pedalling. That's it.
Your First Ride
Watopia is Zwift's home world and the best place to start — it's always available regardless of the day's world schedule. Pick the Tick Tock route or the Flat route for your first outing; both are genuinely flat and let you get comfortable with how the game feels before hills enter the picture.
Expect the first few minutes to feel slightly strange. You're balancing the bike on a trainer rather than leaning into turns, and there's a slight delay between your real-world effort and what you see on screen. After about 10 minutes, all of this fades into the background and you're just riding — sweating, chasing riders, checking out the scenery.
Meeting the RoboPacers
Once you've got a feel for the game, one of the best things to do is join a RoboPacer group. These are AI-controlled virtual riders that cycle continuously around fixed routes at a steady effort level. There are ten of them, ranging from Sofia at a gentle 0.8 W/kg (genuinely easy, perfect for beginners) all the way up to Constance at a punishing 4.2 W/kg (reserved for proper racers).
RoboPacers are great for beginners because they're always available, they set a consistent pace, and you ride with a bunch of other real people who are all targeting the same effort. It's social, structured, and helps you build fitness without having to think about it too hard.
The one thing to know before you join: the W/kg figure tells you the pacer's output, not necessarily exactly how many watts you'll need. Because the group drafts together, most riders end up producing a bit less than the pacer's full figure. But your weight matters — a 60 kg rider needs fewer absolute watts than a 90 kg rider to match the same W/kg. The calculator on this site works out your personal watt targets instantly.
Find Your Watt Targets for Every RoboPacer
Enter your weight and see the exact watts you need for all 10 RoboPacers — sorted by difficulty.
⚡ Use the CalculatorA Few Tips to Make Your First Weeks Easier
Start easier than you think you need to. The most common beginner mistake is picking a RoboPacer or route that's too hard and then spending the whole ride in survival mode. Zone 2 riding with Bernie or Miguel isn't boring — it's actually where most of the long-term fitness gains happen. Save the hard stuff for when you've built a base.
Shorter rides are fine. Zwift is better with a 30-minute focused session than a 90-minute death march. You'll come back more often, progress faster, and enjoy it more.
Use the companion app. Zwift has a companion app for your phone (separate from the main app) that lets you give Ride Ons — the Zwift equivalent of a like — to other riders, check the map, and message other people in your group. It's a nice way to feel part of the community.
Don't worry about your numbers yet. In the first few weeks, just ride. The power figures, training zones, and FTP tests can come later once you know whether you actually like it and want to invest more time. Plenty of people fall in love with Zwift before they ever think about structured training.
Ready to Go?
Getting started on Zwift is a bike, a smart trainer, and a device. That's the whole list. The rest — the routes, the races, the RoboPacers, the kit unlocks — reveals itself once you're in. The best thing you can do is just clip in and ride. The virtual peloton's waiting.